[1] Document Template Configuration
[A] Template Creation
In order to configure any document template, first we need base file to create templet design.
- Follow the path: CRM Instance >> Setting >> Templates >> Document Templates >> Click on the + New button
- Select Word Template as we are generating the word document, and the Base Entity. Your document will be related to the entity you choose here.
 Clicking the Select Entity button will navigate you to the page where you can select the desired relationship based on your requirement
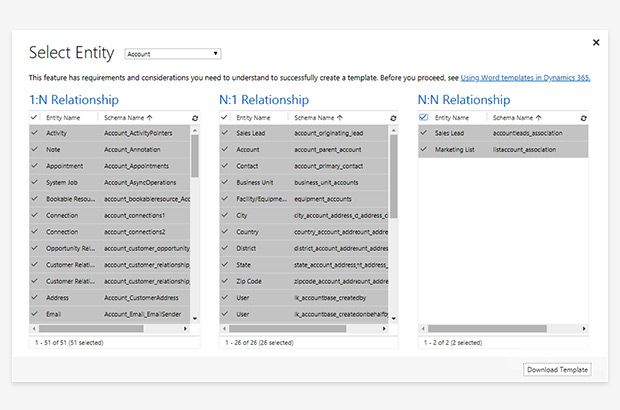
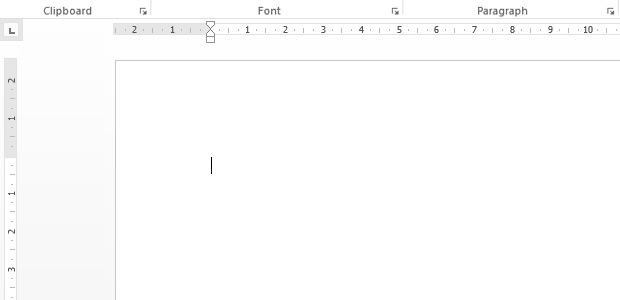
- Clicking Download Template button will download a blank word file. Open the file and follow the further described steps to create the required template. However, you need to download and configure the new word file for each different entity. Moreover, the word template is also depended on the CRM instance.
[B] Enable Developer Mode
Use the link How to: Show the Developer tab on the ribbon to enable the developer mode

[C] Database Fields Configuration
Database field configuration will capacitate you to generate the document with required data. You need to set the respective identification to fetch the CRM field data to the word document.
Any CRM entity contains the multiple type fields like e.g. Text field, Number Field, Option Set Field, Currency Field etc. You can prepare template for all of these fields. It means, as long as you configure the database fields accurately, you can fetch the data from any number fields into a single document. Follow the described steps to prepare the desired word template.
[i] Add Label: Add label from the control section (To assign the template with image name)

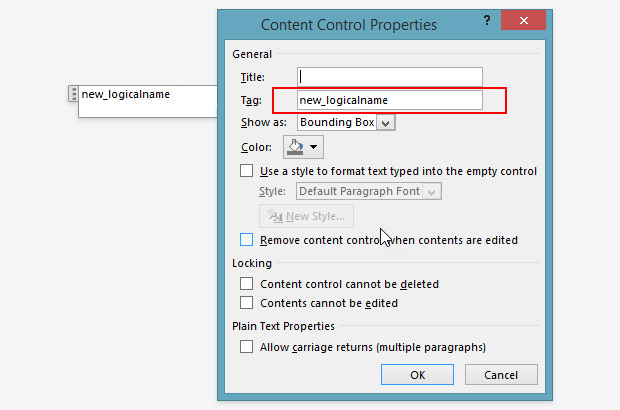
[ii] Follow the path: Content Control >> Controls >> Properties

[iii] Add applicable Tag: Add the applicable Tag to the label as logical name of the CRM field such as new_prop_rp_name. In fact, Tag value will be used to fetch the relevant data from the CRM field.
[iv] Create an Image Template
Having an image or graphics as a part of document is a common practice. It is possible to configure dynamic image fetching from CRM data to the word document. You can fetch the images, which are stored at the other cloud storage location.
- Add Picture Control from the Controls section

- Resize the image as per the requirement. The generated document will resize the fetched image in the same degree.
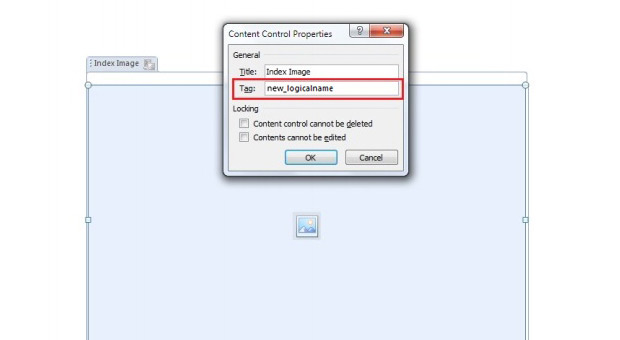
- Follow the path: Picture Control >> Control >> Properties

- Add applicable Tag to the CRM field “new_imagepath”. It will help you in identifying the image/image entity to be fetched.
Once the configuration process is completed, you will able to have the final view of a letter type document as displayed below.
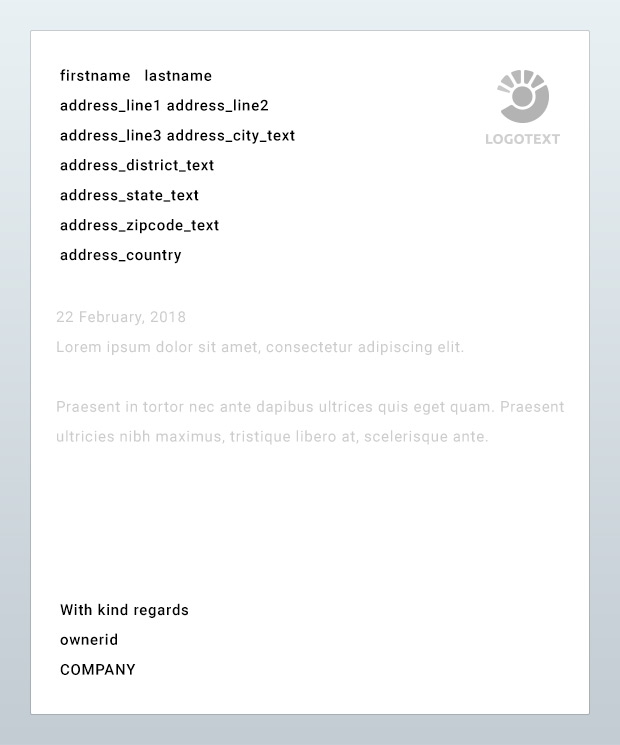
While generating the actual document, system will fetch the relevant actual values described as below.
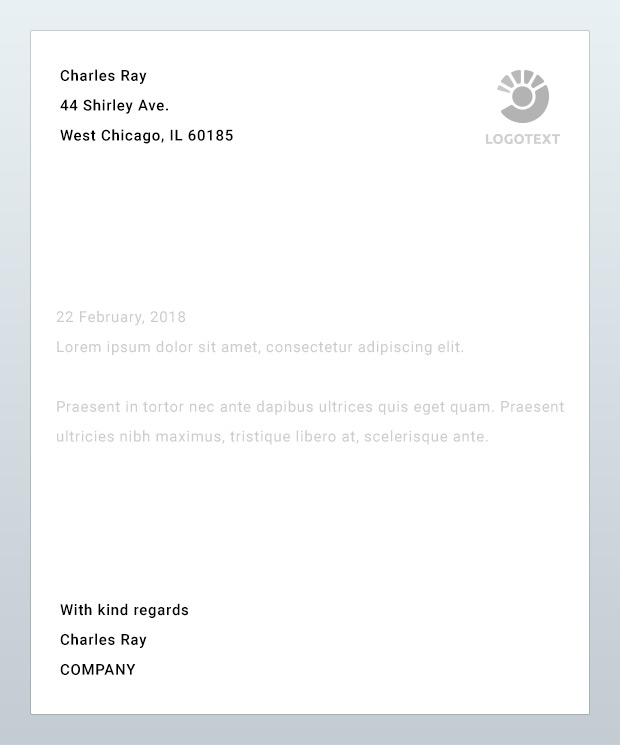
Similarly, you can have the view of the other predefined documents, which will fetch the actual values.
[v] Upload ready word template to the CRM
- When you ready with your desired word template, you need to upload it back to the CRM
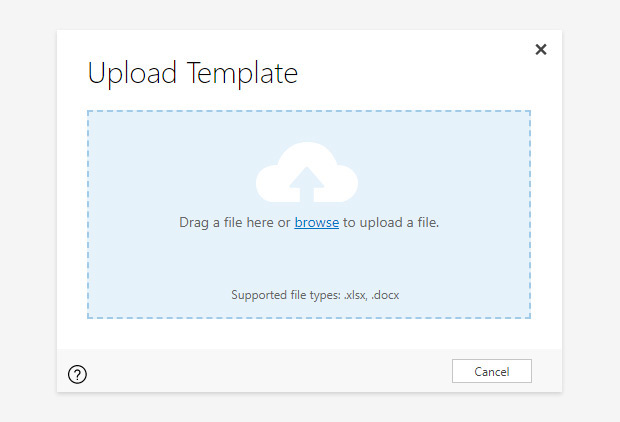
Follow the path: CRM Instance >> Setting >> Templates >> Document Templates and click the Upload Template button. You will be navigated to the pop up as displayed below. Either browse or drag the Templet file and Upload here.

 Clicking the Select Entity button will navigate you to the page where you can select the desired relationship based on your requirement


 7 mins


 Talk to Our
Consultants
 Chat with
Our Experts
 Write us
an Email


